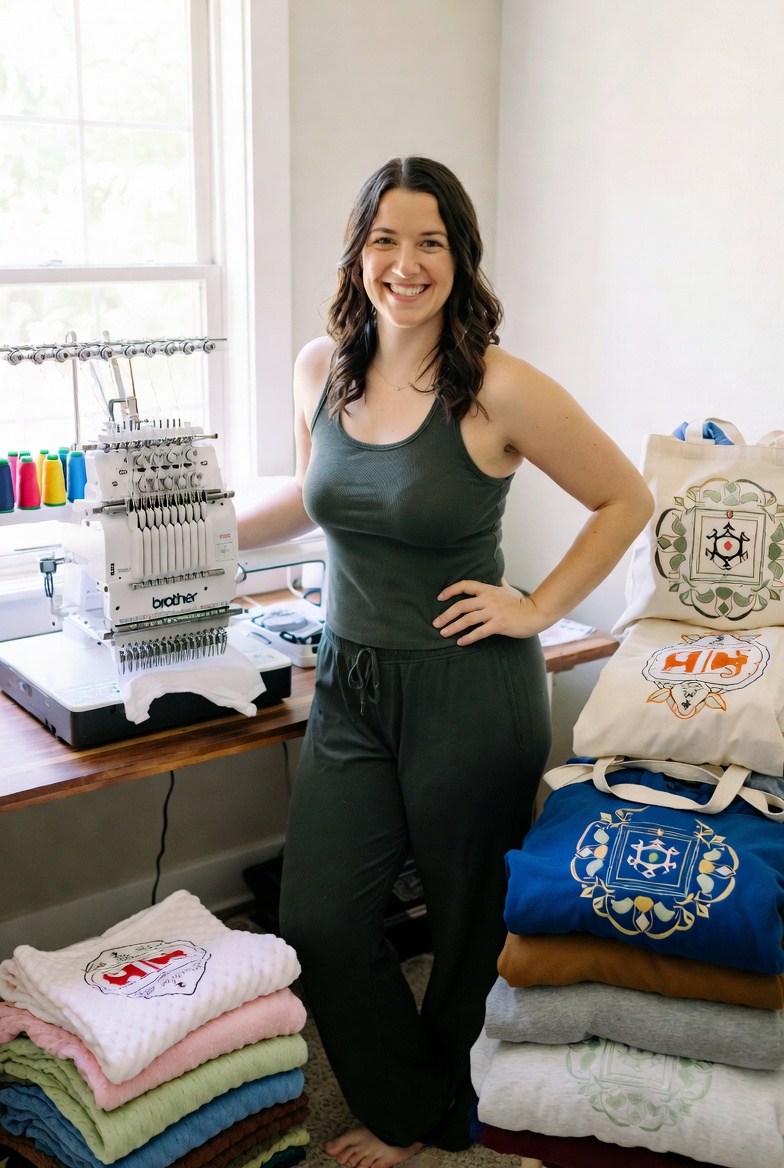
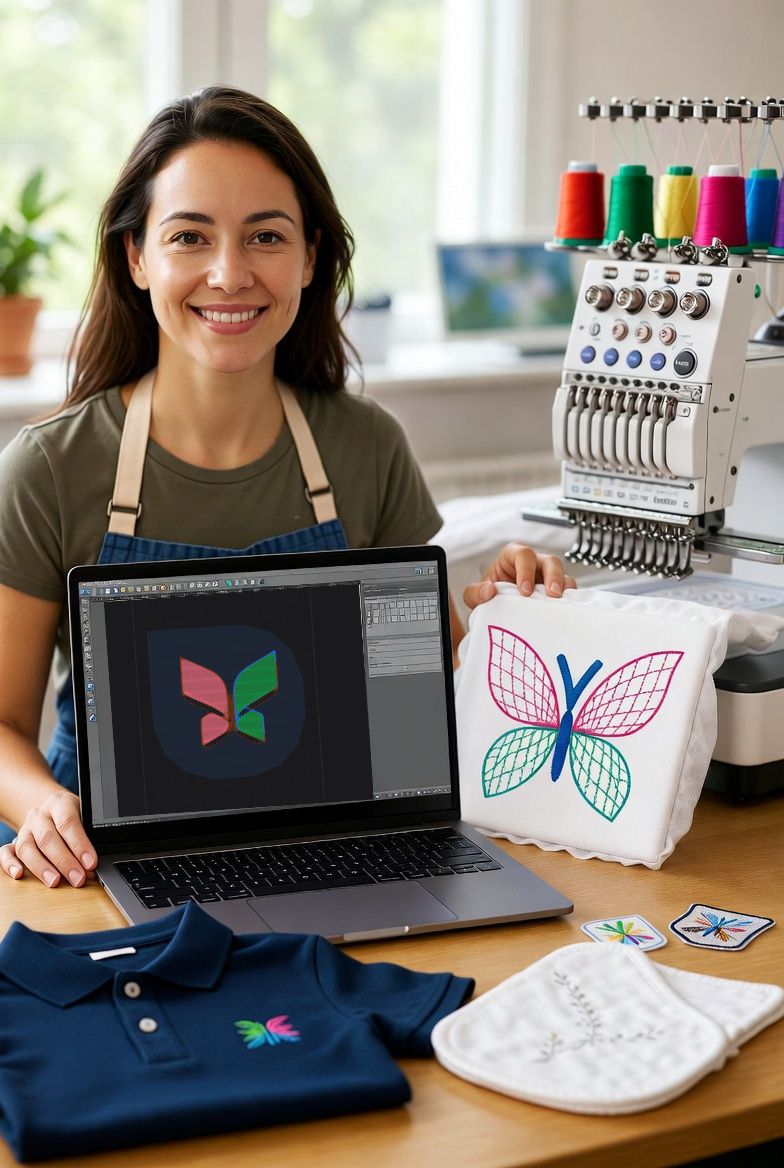
If you have recently purchased your first embroidery machine — or you are considering buying one — the single most important concept you need to understand is the stitch file. Every embroidered design that your machine produces, from a simple monogram to an intricate full-colour logo, begins as a stitch file. Understanding what stitch files are, how they work, and how to get them is the foundation of everything else in machine embroidery. This guide explains it all from scratch, assuming no prior knowledge.
What Is a Stitch File?
A stitch file is a set of digital instructions that tells your embroidery machine exactly what to do. Think of it as a recipe for your machine — just as a cooking recipe tells you which ingredients to use, what temperature to set, and how long to cook, a stitch file tells your machine where to place each stitch, which direction to stitch in, when to change thread colours, and when to trim and jump to a new area of the design. The machine follows these instructions precisely, one stitch at a time, until the design is complete.
A stitch file is not an image. This is the single most important distinction for beginners to grasp. You cannot take a JPEG photograph or a PNG logo and load it directly into your embroidery machine — the machine would have no idea what to do with it. The machine needs stitch-level instructions: move the hoop 2.3mm to the right, insert the needle, move 0.4mm up, insert the needle, jump 15mm to the next colour region, change to thread colour 3, and so on. A typical logo design might contain 15,000-30,000 individual stitch instructions, each specifying an exact position and action.
The process of converting an image (a logo, a piece of text, a photograph, an illustration) into a stitch file is called digitizing. This is where the art and science of embroidery meet — the digitizer (whether human or AI) must make dozens of decisions about how to translate visual elements into physical stitches: which type of stitch to use for each area, how dense the stitching should be, which direction the stitches should run, how to compensate for fabric movement, and how to sequence the colour changes for maximum efficiency and minimum jump stitches.
Types of Stitches in a Stitch File
Stitch files use several fundamental stitch types, each suited to different design elements. Understanding these types helps you evaluate the quality of a stitch file and understand why certain designs stitch better than others.
Fill stitch (also called tatami stitch) covers large areas with parallel rows of stitches, like filling in a colouring book. The rows typically run at a consistent angle across the area, with each row offset slightly from the previous one to create a smooth, woven appearance. Fill stitch density (how close together the rows are) determines the coverage and texture — higher density produces a heavier, more opaque result; lower density produces a lighter, more fabric-visible result. Most of the background and body areas in embroidered designs use fill stitching.
Satin stitch consists of parallel stitches running across a narrow area, creating a smooth, shiny surface like a satin ribbon. Satin stitch is used for borders, outlines, lettering, and narrow design elements. The maximum practical width for satin stitch is approximately 8-10mm — beyond this width, the individual threads become too long and are prone to snagging and pulling. When you see clean, crisp text or defined borders on an embroidered design, you are looking at satin stitching.
Running stitch is a single line of stitches — one stitch after another along a path, with no width. Running stitch is used for fine detail lines, outlines too narrow for satin stitch, and as underlay (a foundation layer stitched beneath the visible design to stabilise the fabric). Running stitch is the lightest stitch type and produces the least fabric distortion.
Underlay stitching is not visible in the finished design but is crucial to its quality. Underlay stitches are placed beneath the main design stitches to stabilise the fabric, prevent it from shifting during stitching, and provide a raised foundation that helps the top stitching sit smoothly. Good stitch files include appropriate underlay for each design area; cheap or poorly digitized files often omit underlay to reduce stitch count, resulting in puckered, distorted embroidery that looks amateur.
File Formats: Which One Does Your Machine Need?
Embroidery stitch files come in different formats, and the format you need depends on your machine brand. This is one of the most confusing aspects of embroidery for beginners, because unlike document formats (where almost any computer can open a PDF), embroidery file formats are not universally compatible. Each machine brand reads its own native format, and using the wrong format will produce an error or, at best, a garbled result.
DST (Tajima format) is the most universal commercial embroidery format. It works on virtually every commercial and industrial embroidery machine, and most home machines can read it as well. If you are unsure which format to use, DST is the safest default. DST files do not store colour information — they only store stitch positions and colour change markers. The machine operator assigns thread colours manually, which makes DST flexible but requires the operator to know the intended colour sequence.
PES (Brother format) is used by Brother and Babylock embroidery machines. PES files store colour information alongside stitch data, so the machine can display thread colour suggestions on its screen. If you own a Brother or Babylock machine, PES is your primary format. PES files are also widely supported by embroidery editing software.
JEF (Janome format) is used by Janome and Elna embroidery machines. Like PES, JEF files include colour data. If you own a Janome or Elna machine, JEF is your native format. Some other machine brands can also read JEF files, but compatibility varies.
Other formats include EXP (Melco machines), VP3 (Husqvarna Viking and Pfaff), HUS (Husqvarna), and XXX (Singer). Each is designed for a specific machine brand. StitchFast generates all of these formats, so regardless of which machine you own, you can get a compatible stitch file.
How Digitizing Works
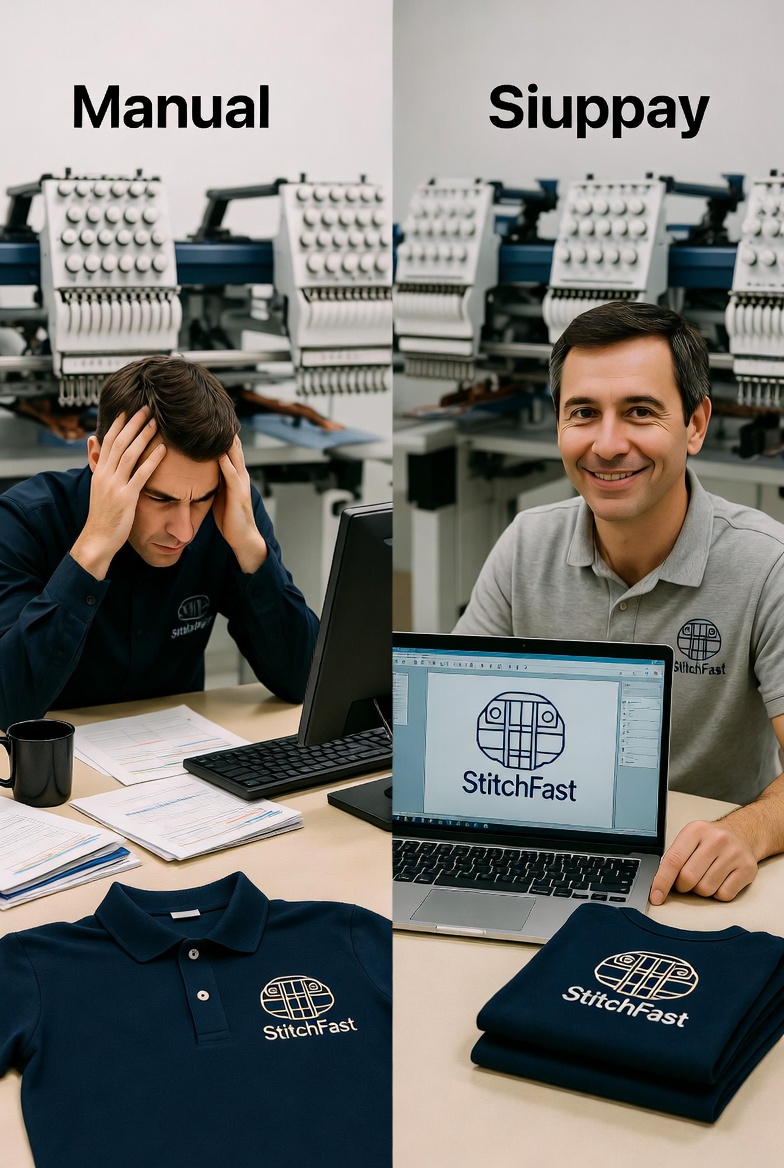
Digitizing is the process of converting an image into a stitch file. Historically, this was a skilled manual process performed by specialist digitizers using professional software like Wilcom, Pulse, or Hatch. The digitizer would trace the image, define stitch areas, assign stitch types, set densities and angles, configure underlay, apply pull compensation, and sequence colour changes. A skilled digitizer might spend 30-90 minutes on a complex logo, and the resulting file would reflect their experience and judgment in hundreds of small decisions.
AI-powered digitizing, as offered by StitchFast, automates this process using artificial intelligence. You upload your image, and the AI analyses the design — identifying colour regions, determining appropriate stitch types for each region, calculating density and stitch angles, applying pull compensation, generating underlay, and sequencing colour changes for efficient production. The result is a production-ready stitch file generated in under a minute, at a fraction of the cost of manual digitizing.
The quality of AI-generated stitch files has improved dramatically. Modern AI digitizing produces files that are comparable to experienced human digitizers for the vast majority of common designs — logos, text, simple illustrations, and standard commercial embroidery applications. Complex, artistic, or unusual designs may still benefit from human digitizing expertise, but for 90-95 percent of typical embroidery work, AI digitizing delivers equivalent quality at vastly lower cost and turnaround time.
Pull Compensation: Why It Matters
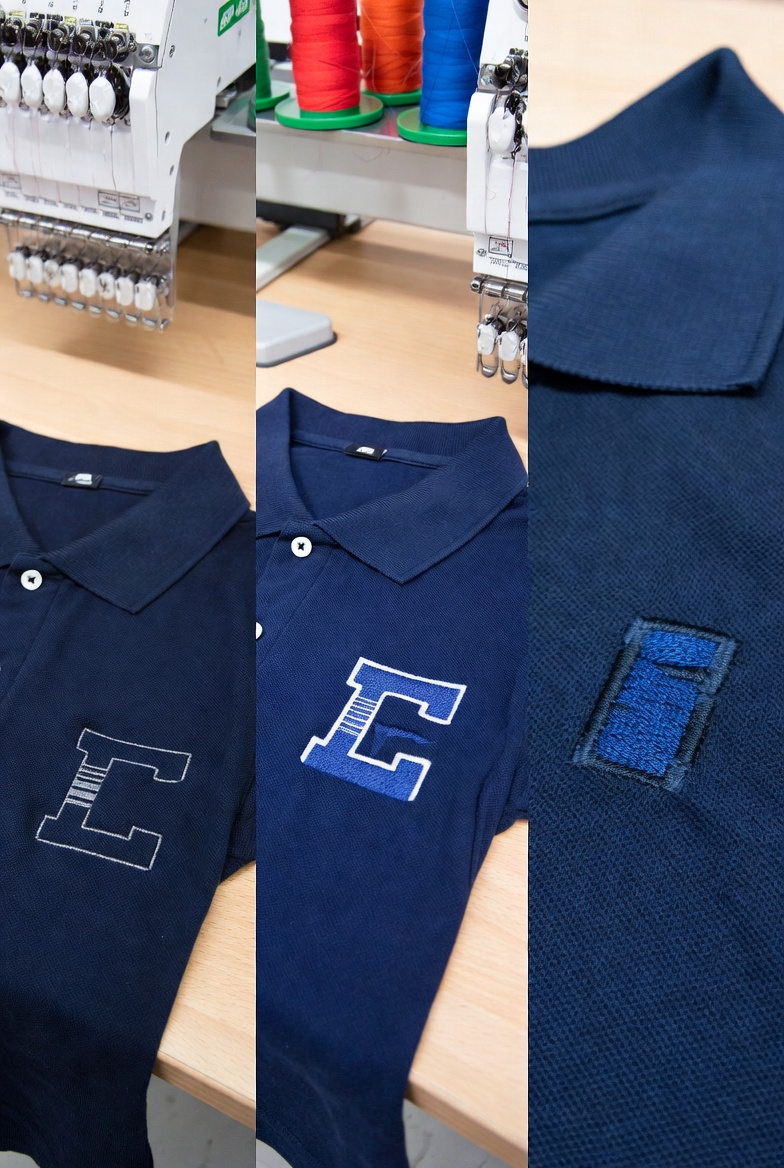
One of the most important quality factors in a stitch file is pull compensation, and it is the single most common deficiency in cheap or amateur digitizing. When an embroidery machine stitches a fill area, the thread tension pulls the fabric inward slightly — imagine stitching a perfect circle, and the tension pulls the sides inward, making it slightly narrower than intended. Pull compensation counteracts this by deliberately overshooting the design boundaries by a small amount, so that after the fabric pulls inward, the finished design matches the intended dimensions.
Good stitch files include appropriate pull compensation for the design type and expected fabric. StitchFast applies pull compensation automatically based on the design's characteristics. Cheap stitch files from bargain digitizing services or free download sites often omit pull compensation entirely, resulting in designs that look narrower than they should, with visible gaps between fill areas and outlines. If your embroidered designs consistently look thinner or more compressed than the original image, inadequate pull compensation in the stitch file is the most likely cause.
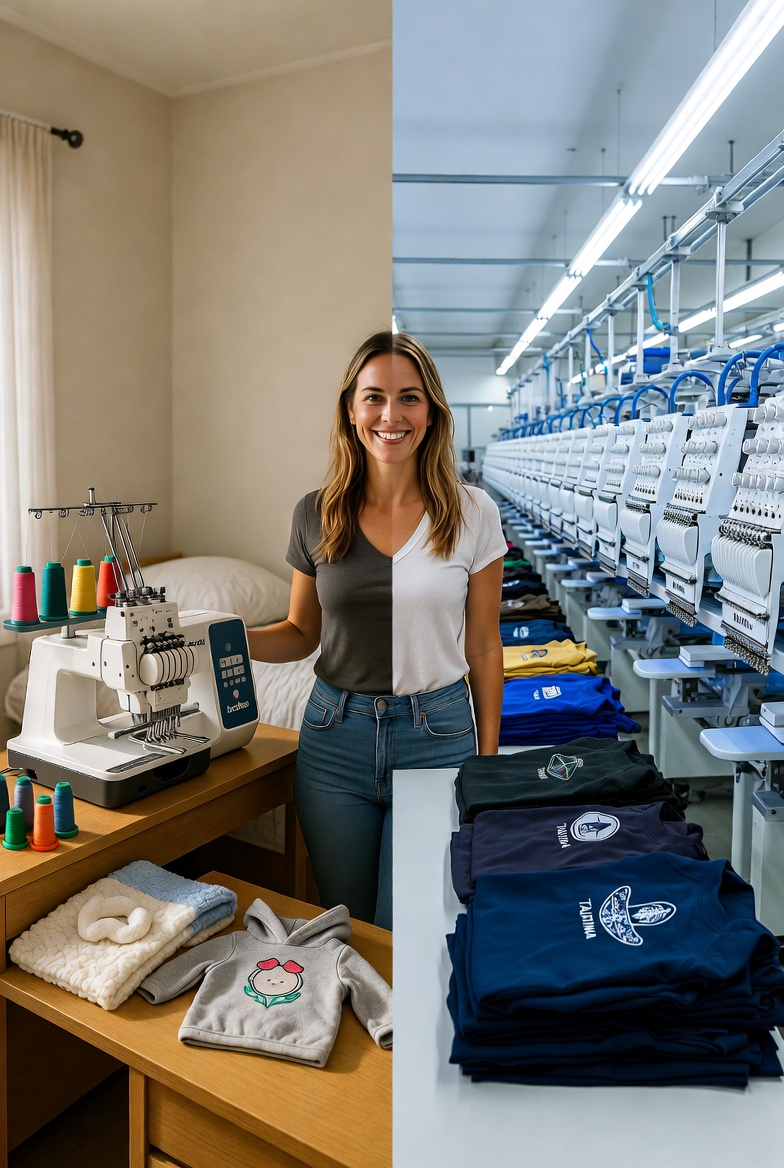
Getting Your First Stitch Files
For beginners, the fastest and most affordable way to get started with stitch files is AI digitizing through a platform like StitchFast. Upload any image — your company logo, a piece of custom text, an illustration — and download a production-ready stitch file in the format your machine needs. No software skills required, no waiting for a freelancer, and no per-design fees eating into your margins.
Start with simple designs — clean logos with solid colours, text in legible fonts, and bold graphic elements. These produce the best results from any digitizing method and are the most forgiving for beginner operators who are still learning about fabric selection, stabiliser choice, and thread tension. As your skills develop, you can tackle more complex designs — detailed illustrations, photographic conversions, and multi-colour compositions — with confidence that the stitch file quality will match your growing capability.
The world of machine embroidery stitch files can seem overwhelming when you are first starting out. But the fundamental concept is straightforward: your machine needs instructions, a stitch file provides those instructions, and tools like StitchFast generate those instructions instantly from any image you provide. Once you understand this chain — image to stitch file to machine to finished embroidery — everything else is detail. Important detail, certainly, but detail that you will learn through practice, experimentation, and the satisfying experience of watching your machine turn digital instructions into beautiful physical thread.
Stitch File FAQs
What is an embroidery stitch file?
An embroidery stitch file is the set of instructions that tells your machine exactly where to place every stitch, in what order, and with which colour changes. The machine cannot read a normal image like a JPG or PNG, so the artwork has to be converted into a stitch file first.
How do I turn an image into a stitch file?
Converting an image into stitches is called digitizing. Traditionally a digitizer does this by hand in specialist software, but AI tools like StitchFast generate a production-ready stitch file automatically from an uploaded image — no software skills or per-design fees.
Which stitch file format does my machine need?
It depends on your machine brand. Brother and Babylock use PES, Janome and Elna use JEF, and most commercial machines use DST. Check your machine's manual for its supported formats, then download that format for every design.
Can I use a JPG or PNG directly in my embroidery machine?
No. A JPG or PNG is a picture, not stitch instructions. The image must be digitized into a proper stitch file first, after which your machine can read it and stitch the design.
What designs work best for beginners?
Start with clean logos in solid colours, text in legible fonts, and bold graphic shapes. These digitize well from any method and are the most forgiving while you are still learning fabric, stabiliser and thread tension.